Propagation
Why Cuttings Fail—and How to Give the Next Batch a Better Start
You take a promising cutting, tuck it into a pot, and wait. A week later, it has either wilted, blackened at the base, or remained stubbornly unchanged. If this sounds familiar, you are learning one of propagation’s most important lessons: a cutting needs a carefully balanced environment before it can become an independent plant.
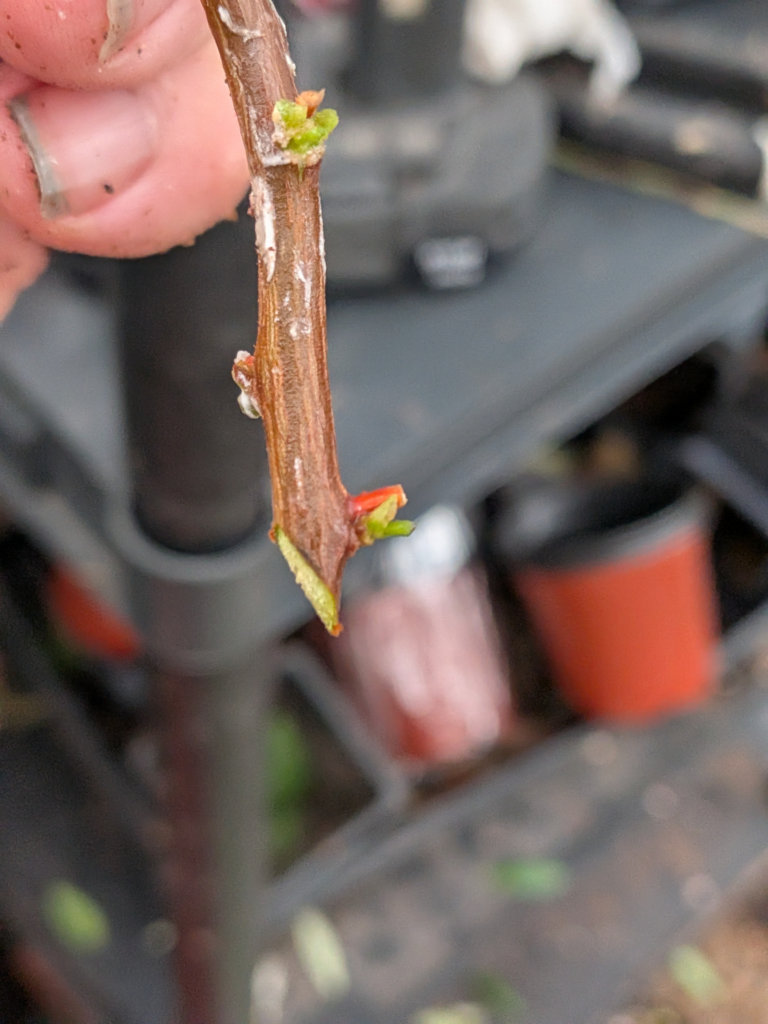
Start with healthy parent material. Choose a plant that is growing well and shows no obvious pests or disease. For many leafy plants, a nonflowering shoot is a useful starting point. The best stem maturity and season vary by species, so instructions for coleus should not automatically become your recipe for roses or woody shrubs.
Prepare the cutting before it dries out. Use clean, sharp tools, remove leaves from the portion that will sit below the rooting medium, and retain some healthy foliage above it. A node is the point where leaves or buds attach to the stem. For many common stem cuttings, the lower cut is made just below a node.
Next, consider what surrounds the stem. A propagation medium needs to retain moisture while allowing air around the developing roots. Dense, saturated material makes that balance difficult. Use clean containers with drainage holes, and moisten the medium before inserting your cuttings.
Humidity and wet soil are different things. An unrooted cutting cannot replace lost water efficiently. A clear cover can reduce moisture loss from its leaves, but repeatedly soaking the pot is not a substitute for managing humidity. Texas A&M’s propagation guidance emphasizes maintaining humidity around cuttings to limit water loss.
Place covered cuttings in bright, indirect light. Direct sunshine can rapidly overheat a clear enclosure. Check daily for wilting, drying medium, fallen leaves, and decay. Remove failed cuttings promptly, and adjust ventilation if conditions stay excessively wet.
Resist the urge to pull stems out repeatedly to inspect them. New leaves alone do not prove that roots have formed; a cutting may begin growing using stored reserves. Roots visible at drainage holes or a cohesive rooted plug provide better evidence.
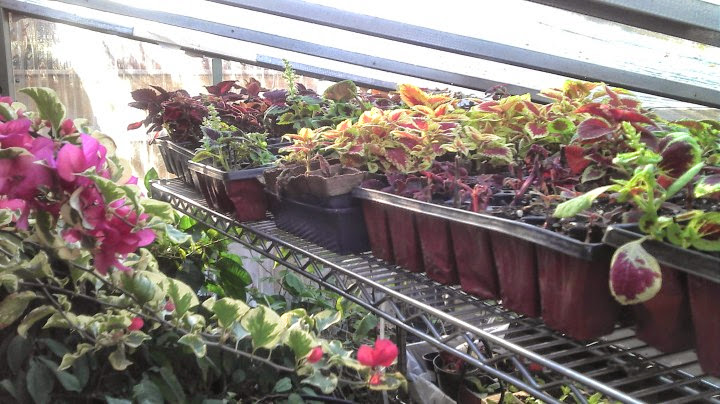
Once roots develop, gradually introduce more airflow before removing the cover completely. That transition helps the young plant adjust to lower humidity.
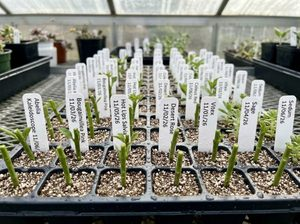
Keep each batch small enough to observe closely. Label it with the plant name and starting date, then record what worked.
Try this: Start two small batches of the same plant and change just one condition. A useful comparison teaches more than twenty unlabeled pots.